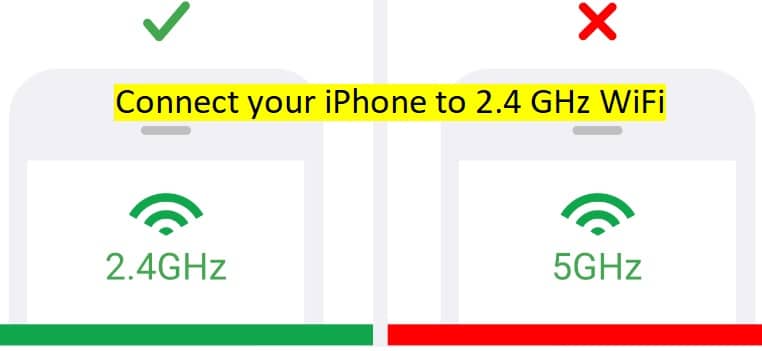
2.4 GHz and 5GHz are the two different wavelengths (generally known as bands or frequencies) often used by the majority of the routers to transmit wireless internet connections. As both these frequencies have their pluses and minuses, you may want to use one of them depending on your preference.
The main difference between both bands is speed and range. While 2.4 GHz is known for providing coverage at a longer range but transmitting data at slower speeds, a 5 GHz is known for transmitting data at higher speeds but providing less coverage. While usually it is determined by your router whether to connect your iPhone to a 5 GHz or 2.4 GHz WiFi network to provide the best Wi-Fi signal, if you wish to make your iPhone connect to 2.4 GHz only, below are the steps you will need to follow.
Steps to Connect to 2.4 GHz WiFi on iPhone
First of all, you will need to check if your iPhone is already connected to a 2.4 GHz Wi-Fi network. For this, you will need to navigate to the Settings menu and click the Wi-Fi option. Here, you will see all the nearby available WiFi networks. From the list, locate your network and open its properties to find the SSID. The SSID will be denoted either with a 2G (2.4) or 5G (5) end notation. Here, 2G denotes 2.4 GHz connection, 5G denotes 5 GHz band.
Now to connect your iPhone to a 2.4 GHz network, follow the below-mentioned steps:
- To begin with, start by unlocking your iPhone and go to the Applications menu.
- Tap on the Settings app icon. This will open the Settings section of your iPhone.
- In the Settings section, you will need to enable the WiFi option by tapping on the switch/slider next to it (located at the top).
NOTE: The green color icon will denote the WiFi is enabled.
- From the list of WiFi networks that will display on your screen after enabling the WiFi option, you will need to select a 2.4 GHz WiFi network. A 2.4 GHz WiFi network is usually indicated by a 2, 2.4, or 2G at the end of the network, also known as SSID.
- After selecting the WiFi network, if you are prompted to enter the password, you will need to enter it in the provided field and press the connect option. Once you will be connected to the WiFi network, you will see a blue checkmark next to the network name.
If the WiFi network name doesn’t indicate whether it is a 2.4 GHz or 5 GHz band, you can follow these steps:
- Try to open your router settings and look for a 2.4 GHz WiFi network that your iPhone can connect to. You can contact your router manufacturer if you require further assistance.
- You can reach to your Internet Service Provider (ISP) and seek assistance to connect your iPhone to a 2.4 GHz WiFi network.
If your router is using the same WiFi SSID or network name for both 2.4 GHz and 5 GHz WiFi bands, you can consider following this suggestion:
- Mesh WiFi networks are known for using the same SSID or network name to broadcast both 5 GHz and 2.4 GHz WiFi networks. If your iPhone is connected to such a network, you might not be able to connect it to your preferred frequency. You can contact your ISP for assistance if you wish to make your iPhone connect only to the 2.4 GHz network.
So, these are the steps that you will need to follow to connect your iPhone to a 2.4 GHz WiFi network.

